This is the second part of a two-part series by Kenny Gould on Pennsylvania’s beer and spirit history and culture, with a specific focus on local sourcing. Read the first part here.
At one time, Pennsylvania was renowned for its brewing culture: In 1879, Philadelphia alone supported 97 breweries. How hard would it be to make five gallons of local beer today? I’m talking hops, malt, water, and yeast—all sourced from Pennsylvania—as well as labels designed by local artists. As an avid brewer, beer writer, and Pennsylvania native, I decided to find out.
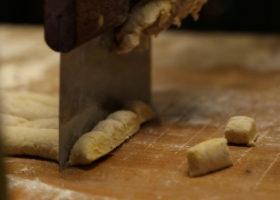
![]()
The beer-making process seems complex, but it can actually be broken down into a few easy steps. On brew day, I secured the assistance of friend and beer connoisseur Drew Cranisky, who works at the Independent Brewing Company in Pittsburgh’s Squirrel Hill, which made the process a whole lot easier and a whole lot more fun, because Drew tells excellent jokes.
STEP ONE: Source the ingredients.
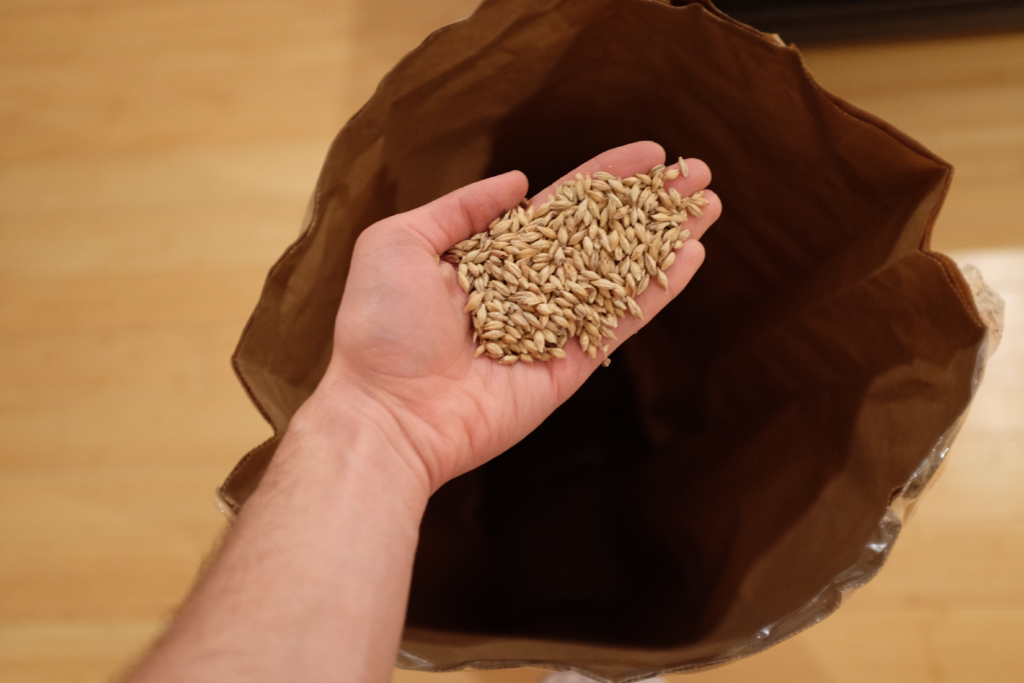
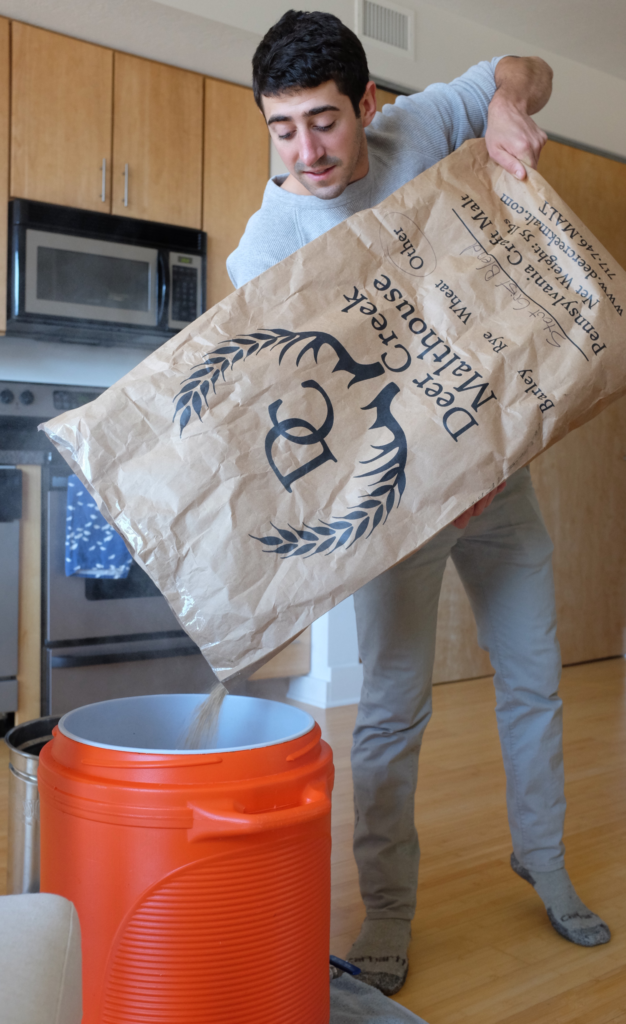
In order to find Pennsylvania grain, I contacted Josh Oliver from Deer Creek Malt, the first malthouse in Pennsylvania since Prohibition. Malting is a long and arduous process that converts raw grain into malt, which can then be used for brewing. Josh and his two partners soak grain in water for thirty-six hours before casting it on the floor of their 150-year-old, temperature-controlled barn. Every four seconds, a computer pushes temperature and humidity reports to their phones. After a few hours, they turn the malt over, a process that they repeat for five days, even at night. Finally, the grain is put into a kiln, where it roasts.
“It’s a year-round, around the clock, 24 hours, 7 days a week kind of job,” Josh told me. “Every year about a hundred people say they want to start a malting operation, and about two actually follow through.”
As a result, Deer Creek Malt is one of the only suppliers of local malt in the state, serving everyone from the Brew Gentlemen to East End Brewing Company. In 2012, Deer Creek contracted with local farmers for five acres of grain. Today, they contract for over two hundred, including thirty acres that they plant themselves.
With Josh’s help, I adapted a recipe for Terminator Stout—first brewed by the McMenamins chain of brewpubs around the Portland, Oregon, area—to make a stout that used only grains sourced from Pennsylvania. The original recipe called for ten and three-quarters of a pounds of Pale Malt, one pound of Crystal Malt, one pound of Black Barley Malt, and three-fourths of a pound of Munich Malt: in total, thirteen and a half pounds of malt. We used nine pounds of Double Dutch Malt, one pound of Pennsylvania Malted Oats, eight ounces of Pennsylvania Wheat Malt, eight ounces of Pennsylvania Rye Malt, and a pound of roasted barley, which totaled thirteen pounds. Malt procured, I asked him about hops.
“We’ve been dabbling in hops but I wouldn’t recommend it to anyone,” Josh said. Last year they planted 450 rhizomes, half Cascade hops and half Zeus hops, and much of their Zeus crop fell to a fungus called downy mildew, the same disease that nearly wiped out nearly all of the northeast’s hop crop in 1909. Luckily, Josh harvested enough to provide me with an ounce of whole cone Zeus hops, which replaced the ounce of pelletized Cascade hops that the original recipe called for.
For my Pennsylvania yeast, I tapped the fine folks at East End Brewing. If I’d had more time (and not started brewing in the dead of winter) I would’ve tried to cultivate the yeast myself from the streets of Pittsburgh, which was the route that Elisa Loeser—a graduate student in Chatham University’s Masters of Food Studies program—took when she completed a similar and wholly enlightening project as part of her thesis, “Organic Hops Production—Research, Education, and Outreach Opportunities: Designing a Hops Program and Exploring the Role of Craft Beer Culture in a Local Food System.” Like dust, wild yeast floats through the air, which we inhale with every breath. But alas, I was on a deadline, and working in the wrong season, so I was thankful for East End’s help.
Thus I was left trying to source Pennsylvania water. As anyone who has jogged or biked across Hot Metal Bridge and looked down into the Monongahela can attest, this was a frightening prospect. My Pennsylvania water simply came from the tap.
STEP TWO: Crack the grains.
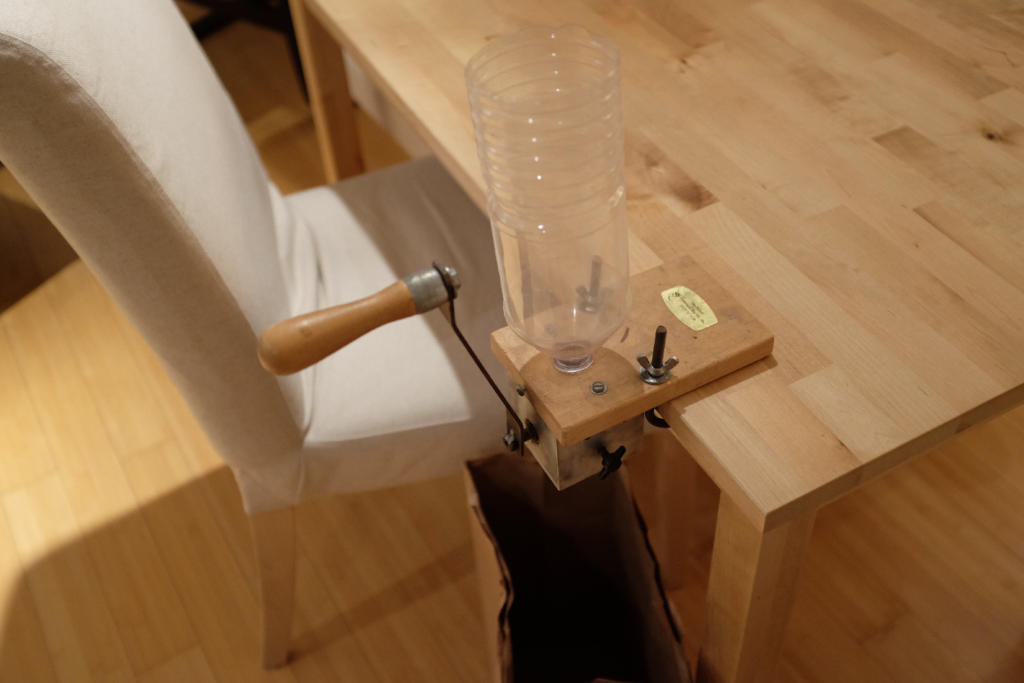
Cracking the grain makes it easier to extract the sugar. Brewer Nordy Siljander at East End Brewing kindly lent me a hand mill, but after twenty minutes, a scuffed Ikea table, and maybe half of a percent of my thirteen pounds of grain successfully cracked, I got in the car and drove to a local home brew store, which ran the grains through a mechanical mill.
STEP THREE: Extract sugar from the cracked grains.
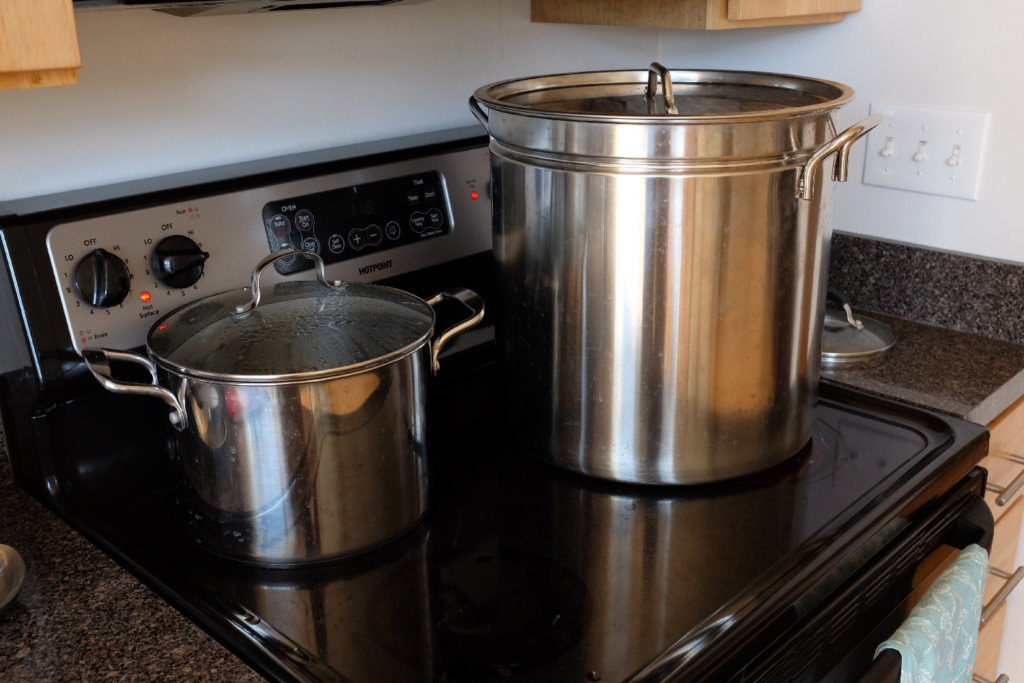
Most first-time home brewers are surprised to learn that beer is basically sweet tea that has been introduced to yeast. In order to make the sweet tea, you extract the grain’s sugars into hot water. You could buy a pre-made concentrated sugar syrup called malt extract, allowing you to skip steps one and two, but one of the easiest ways to improve the quality of your home brew is to extract the sugars yourself. This is done in a process called “mashing,” which takes place in a mash tun—basically a vessel with a false bottom and a spigot. Picture a sieve at the bottom of a Gatorade cooler, which is actually exactly what mine is. In the most basic iteration of the process, you get your malt, dump it into the mash tun, pour in hot water, give the mixture a stir, screw on the lid, and wait. After about an hour to an hour and a half, open up the spigot at the bottom. The sieve holds the grains but allows the liquid to pass through, carrying with it much of the sugar previously contained in the malt.
To get more specific about my process, I collected the standard 1.3 quarts of water per pound of grain—in this case, 16.9 quarts, or 4.225 gallons. Because the recipe told me to keep the mash water at 157ºF (enzymes in the malt that convert starch to sugar activate when exposed to water between 150 and 158ºF), I heated my 4.225 gallons to 175ºF, because water typically drops fifteen to twenty degrees as it gets transferred from the kettle to the mash tun.
It might not seem like a few degrees in temperature would make a difference, but temperature at this step actually has a major influence on the final product. Too high and you’ll destroy the enzymes needed for starch conversion, or leach tannins from the grain; too low and you won’t activate the enzymes. I broke up any clumps in the grain with a stainless steel paddle, screwed on the lid, and waited for ninety minutes.
While I waited, I collected the “sparge water.” And after the ninety minutes, I poured this over the grain as I opened the spigot, rinsing any residual sugars out of the mash. Typically, one uses half a gallon of sparge water for every pound of grain, heated to 175ºF, so I used 6.5 gallons.
STEP FOUR: Begin the boil.
After I got my sugar water (“wort,” as brewers call it), I put it on the stove to boil. I’d love a better way to heat my wort than two electrical burners, but I thought of my Pennsylvania forefathers who made whiskey in homemade stills and bit my tongue. When the wort started boiling, I put half an ounce of my whole cone Zeus hops into a cheesecloth bag and tossed it into the pot. A half hour later, I added another half ounce. The entire boil took ninety minutes. Fifteen minutes before the end of the boil, I added a teaspoon of Irish Moss, a fining agent derived from seaweed that causes sediment to aggregate and settle, according to Stokes’ Law, which describes how smaller and larger particles bind to form sedimenting agglomerates. But of course you don’t need to know that to make awesome beer.
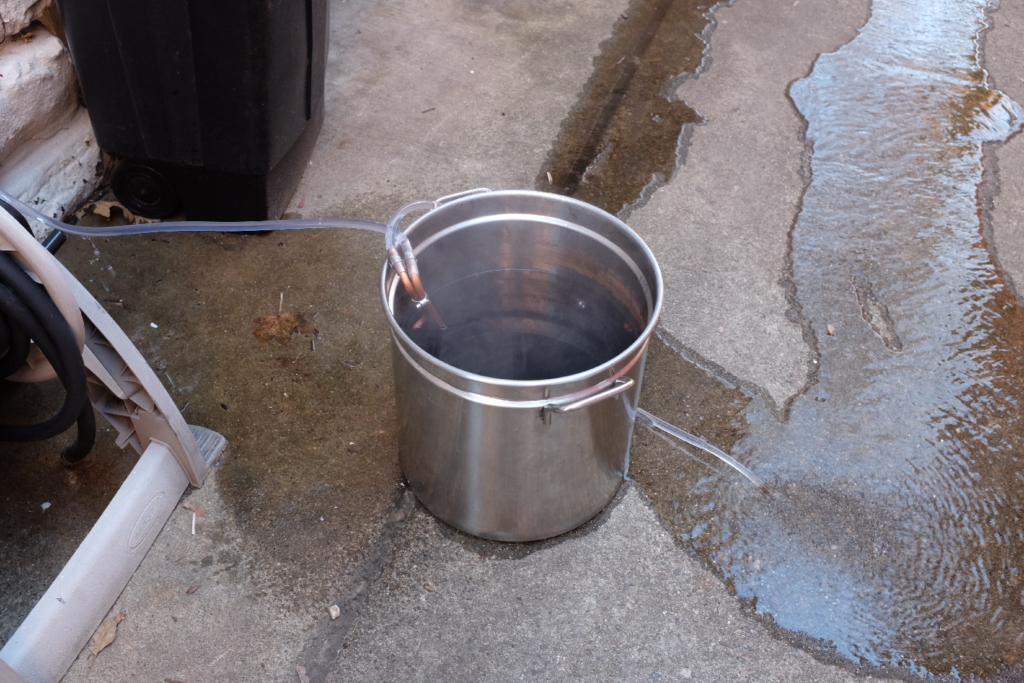
STEP FIVE: Cool the wort.
At this point in the process, I had hops boiled into sugar water. I cooled the mixture to 69ºF with a wort chiller, a standard piece of equipment in every home brewer’s toolbox. Basically, it’s a coil of copper tubing that you can run cold water through. You put it into the wort, turn on the spigot, and the water cools the copper, which in turn cools the beer.
STEP SIX: Check the initial gravity.
After I got the wort down to around 70 degrees, I checked its initial gravity, which is its relative density compared to water. Uh, yeah. This is kind of a confusing step if you want to get into the science, so just know that I tested the wort’s initial gravity with a tool called a hydrometer: 1.050. I’d check it again in another week or two. By knowing the wort’s initial and final gravities, I can use any one of a hundred free online calculators to determine how much alcohol is in my beer.
STEP SEVEN: Pitch the yeast.
Gravity checked? Check. I siphoned the wort from the pot into a five gallon plastic bucket and pitched the yeast. Then I put a lid on the bucket, popped on an airlock, and waited.
STEP SEVEN-AND-A-HALF: Secondary fermentation.
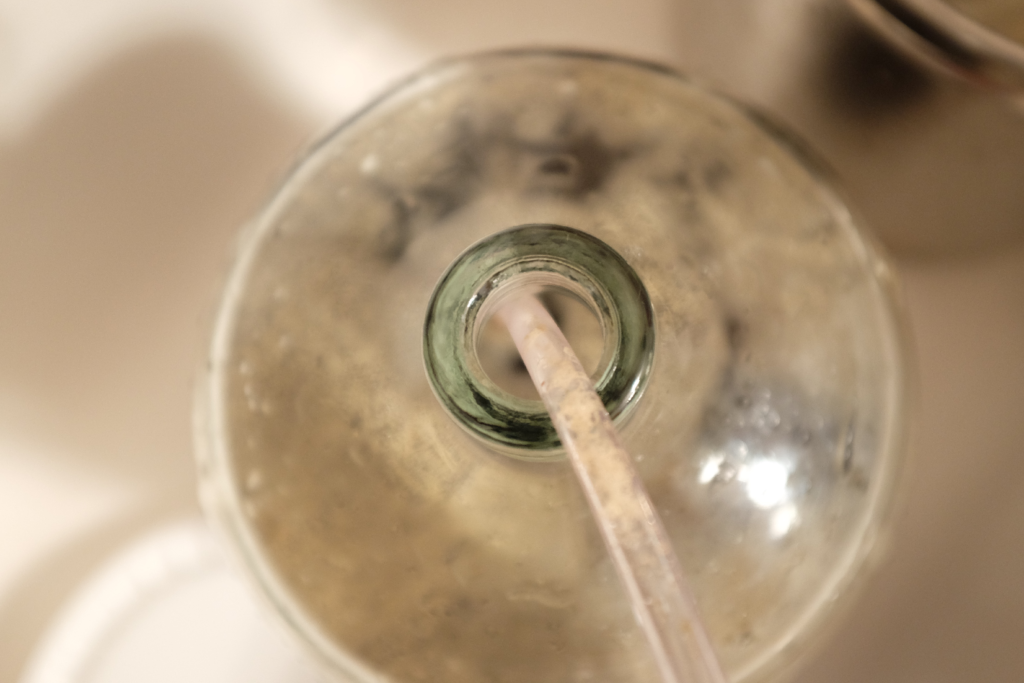
This isn’t a necessary step, but it helps produce a cleaner, brighter beer. During the first two or three days that the yeast is in contact with the wort, it’s extremely active: A lot of the yeast dies, and because of the Irish Moss, it settles to the bottom of the vessel, along with any sediment from the hops or grains that managed to make it through the siphon. After three days, I siphoned the wort from the primary fermentor, the bucket, into a secondary fermentor, a five gallon glass carboy. Although it’s not ideal to expose the wort to the air, it’s generally fine as long as you do it quickly and use sanitized equipment.
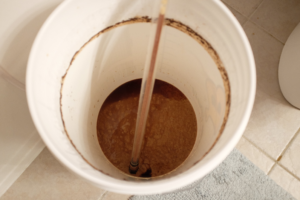
Now I saw the problem: At the bottom of the bucket was a two-inch layer of tan gook, a layer of sediment called “lees,” which brewers tend to call “trub,” from the German “trüb,” meaning “cloudy” or “murky.” And to think, my beautiful wort had been sitting on this slime for two weeks! Getting the wort off the trub makes for a cleaner, brighter product.
STEP EIGHT: Check the final gravity.
After about a week or two, you can once again test the gravity. Because my initial gravity was 1.050, and because I wanted a low ABV beer of around four percent, I waited until the hydrometer showed a final gravity of around 1.018 (which would give my beer an ABV of four percent). At this point, I was ready to move the beer out of the carboy and into bottles.
STEP NINE: Bottling.
Writers love beer. At the last literary reading that I attended, I collected old bottles; I peeled off the labels and sanitized them with the same cleaner that I use for all of my equipment. Before I siphoned the beer into the bottles, I added about three-fourths of a cup of corn sugar, to give the yeast a little extra to eat. It consumes the sugar inside the bottles, creating carbon dioxide as a byproduct. In other words, the beer carbonates itself, generally over a course of two to four weeks, depending on the style. I simply siphoned the beer into bottles and capped them with a $15 handheld butterfly capper. Two to four weeks later, I’d have beer.
STEP TEN: Labeling.
While I waited for my beer to finish, I got in touch with Pittsburgh-based artist (and The Glassblock arts and culture editor) David Bernabo, who connected me with Hyla Willis, Professor of Media Arts at Robert Morris University. Hyla tapped six undergraduate design students—Joshua Curtis, Taylor Gearhart, Ché Hill, Ricky Petticord, Sarah Mild, and Matt Merlino—to submit label designs. Each student submitted compelling work, but Ché Hill’s, which featured bold lettering, an easy-to-read ingredients list, and a sharp, contemporary, local take on the hop plant, was chosen as the winner.
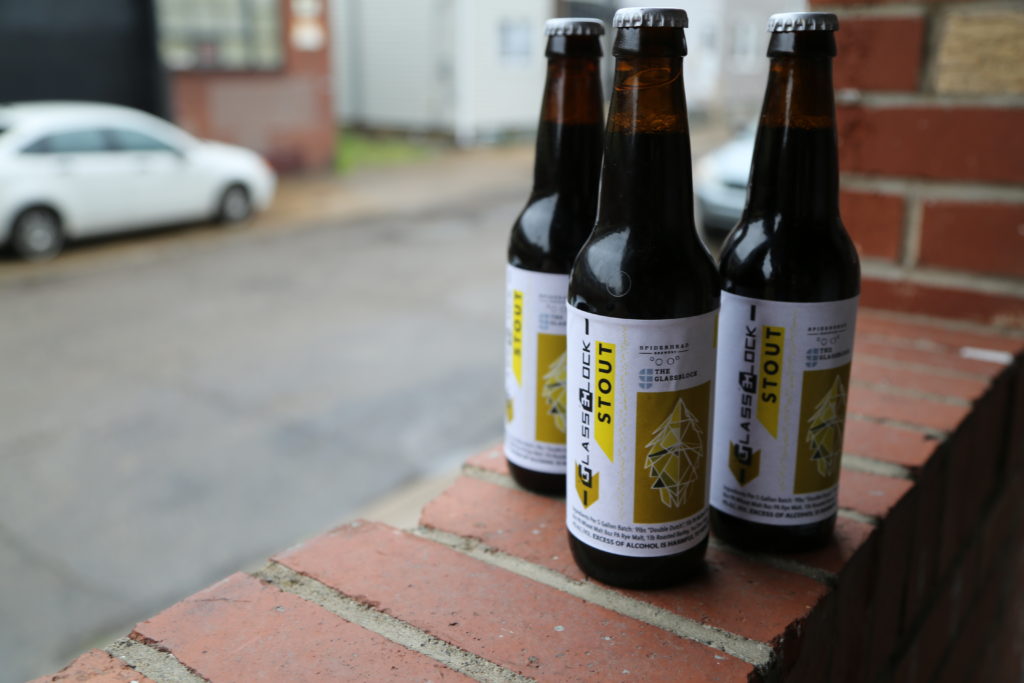
And that’s it! The final step, I suppose, would be the drinking. And this was a winner: The product, christened “The Glassblock Stout,” poured a dark red-brown with an inch of fluffy, chocolate-colored foam. The roasted notes that came through on the nose also appeared in the mouth, along with vanilla and cocoa. It was bright, effervescent, and—at 4% ABV—easy drinking.
Long live Pennsylvania brewing culture.
[Ed. Note: There are still several tickets left for tonight’s launch party VIP Event, where we will be holding a tasting of Kenny Gould’s Glassblock Stout. Professor Hyla Willis and her RMU Media Arts students, including winning designer Ché Hill, will be there!]
![]()
This series would not have been possible without the support of Adam Shuck and David Bernabo, founders of The Glassblock, and Pittsburgh author Sherrie Flick, who connected us. Also Elisa Loeser, whose brilliant Master’s thesis on hop production paved the way for a beer made with ingredients locally sourced from Pennsylvania; Nordy Siljander, head brewer at East End Brewing, who lent his knowledge and equipment; Josh Oliver of Deer Creek Malt, who provided the ingredients; Drew Cranisky, who is strong enough to carry a pot of boiling wort down three flights of stairs; Hyla Willis and all her students who submitted bottle designs—Joshua Curtis, Taylor Gearhart, Ché Hill, Ricky Petticord, Sarah Mild, and Matt Merlino; and, last but not least, Trillium Brewing, Allagash Brewing, The Rare Barrel Brewery, the Alchemist Brewery, Russian River Brewing, Oxbow Brewing, Bissell Brothers Brewing Company, Dogfish Head Brewing, and all the other fantastic beer visionaries that provide inspiration and libations to their fans.